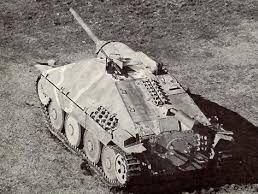
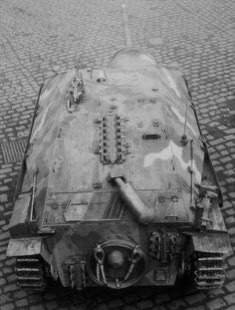
Hetzer mid-production
Updated: Nov 21, 2020
Although I always fancied this little tank destroyer, somehow I always decided to go for another model kit. Then, it landed on the bench as a birthday present. I got really excited immediately. Despite of the fact that I was about to start building Das Werk's early Panther A, I put that on hold and jumped on this Tamiya kit.
I have to admit, that this might be the shortest build review on this blog. It is so well-designed and simple kit that the whole build was flawless. However, it does NOT mean that the kit is not detailed. it is top quality, probably one of the best Hetzer kits available on the market at the moment.
Once the build was done I started the painting. I was planning a sharp-edge camo and picked up some Tamiya colours: dark yellow, dark green and red brown. In order to complete the camo pattern I used Panzer Putty.
Well, I was not satisfied with the outcome at all . Especially, when I sprayed enamel varnish on the acrylic paint. You can't imagine how angry I was of myself. I stopped there and decided to go for a complete re-paint the following day. I searched for different camo patterns and chose something like this one:
Same technique with Panzer Putty:
Gloss varnish as a base for the decals.
Then came the matt varnish, chipping, washes and pigments.
Finally, the tracks and the last touches. I have to admit, this is one of the best kits I have come across, especially if you don't want to fiddle too much with tiny parts, but still insist to have a nicely detailed and historically correct tank destroyer. Here are some of the final photos, but you can find more in the gallery.


Comments